
Darkroom printing /also knows an silver-gelatin printing/ offers photographers a unique and rewarding way to engage with their work and create prints that are truly one-of-a-kind. It is very tactile and hands-on process that allows you to engage with your work and have a great deal of creative control over the final print. This method careful attention to detail and a deep understanding of the chemical processes involved, but it is also very entertaining way to get your final images after the film has been exposed and developed. Moreover you can adjust the contrast, exposure, and tone of the print by making changes to the chemicals used in the development process, manipulate the light exposure during printing or just experiment with all the variables to achieve unique results.
What Is Silver-Gelatine Printing

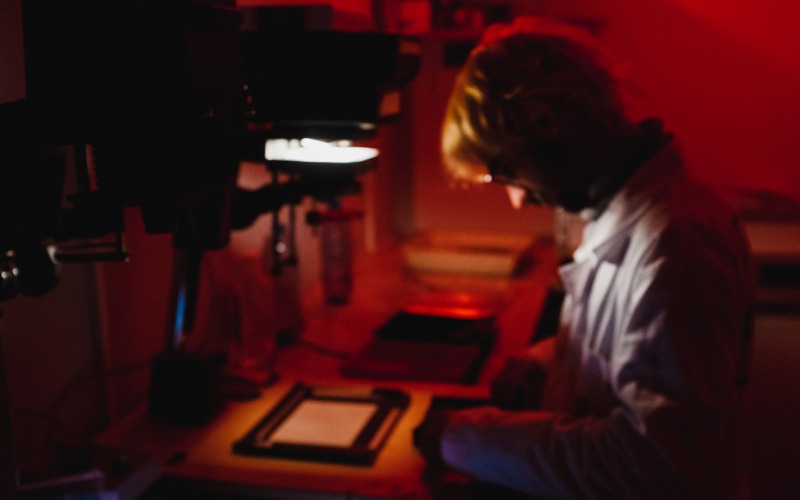
Silver-gelatin printing is a photographic printing process that has been widely used since the late 19th century. It is a type of black and white photographic print made by exposing light-sensitive photographic paper to a negative, and then developing the paper in a chemical process using silver-based compounds. The process is usually maintained in a darkroom: specialized workspace, typically a light-sealed room that is completely dark or has very low levels of light, called safelight – most likely red or orange. The chemistry of paper developing the process itself is verry similar to the process of film developing. There are two basic ways to make silver-gelatin print: via contact printin and enlarging.

Contact printing
Contact printing is a printing process that involves placing the film negative directly onto photographic paper and exposing them together to a light source. This process produces a print that is the same size as the negative. This makes it great technique for photographers who use large format film and cameras and produce large sized negatives. Another advantage of this method is that allows you to make quick and easy single print of the whole film, review it and choose afterwards which pictures to focus on.

Enlarging
Enlarging is a photographic printing process that involves projecting a negative image onto photographic paper using an enlarger. The enlarger is part of the darkroom equipment and allows the photographer to adjust the size, focus, and composition of the image – it has a light source, holder for the negatives and sometime color filters for contrast adjustments. The process involves loading the negative into the enlarger, positioning the photographic paper under the enlarger, adjusting the focus and composition, exposing the paper to light and developing the print. Darkroom enlargement offers photographers a lot of creative control over the final print, allowing them to adjust the exposure, contrast, and tonal range of the image.

Both types of silver-gelatin printing has verry similar paper developing process:
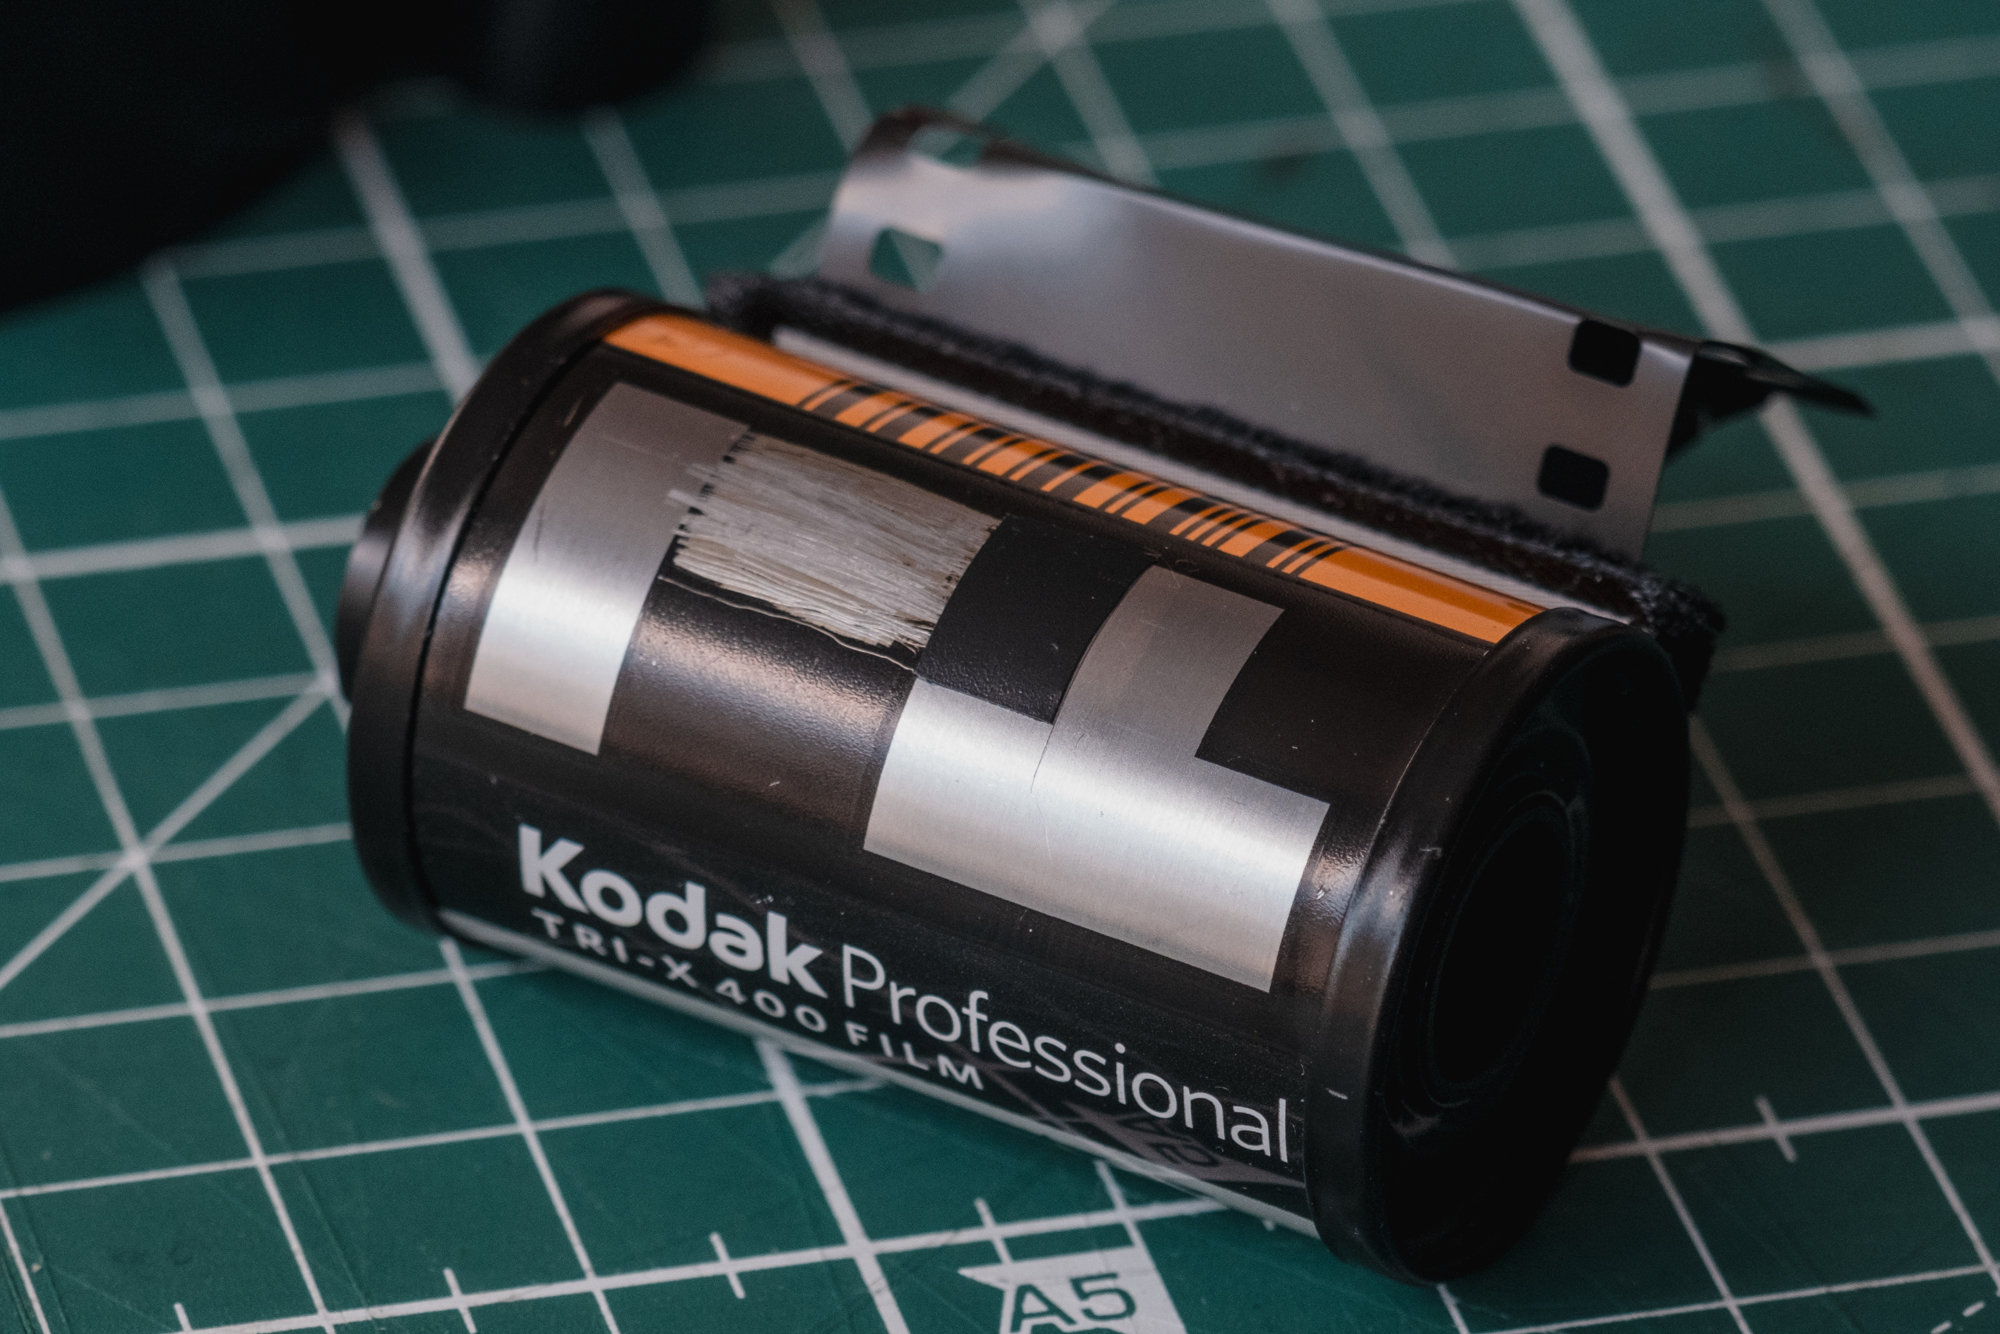
1. Choose your negative: Select a negative of the image you want to print.

2. Set up your darkroom: As with enlargement prints, you need to work in complete darkness. Set up your darkroom with a safe light that emits red or orange light.
3. Choose your paper: Select the photographic paper you want to use for your contact print.

4. Cut a test strip: Cut a strip of photographic paper and place it on a flat surface.

5. Place the negative: Take your negative and place it face down on top of the photographic paper or load it into the enlarger holder.

6. Expose the paper: Place the paper and negative under a light source and expose them for a set amount of time. This time will depend on the type of paper you’re using and the intensity of the light source.
7. Develop the print: Once the paper has been exposed, place it in a tray of developer solution. The developer will bring out the image on the paper.
8. Stop the development: After the image has developed for the correct amount of time, place the paper in a tray of stop bath to stop the development process.
9. Fix the image: Place the paper in a tray of fixer solution. The fixer will make the image permanent on the paper.
10. Wash and dry the print: Rinse the print in water to remove any remaining chemicals, then hang it up to dry.

Conclusion
Silver-gelatin prints are valued for their tonal range, sharpness, and long-lasting archival properties. They have been used to create a wide variety of photographic prints, including fine art prints, photojournalism, and scientific photography. While the digital revolution has largely replaced traditional photographic printing methods, silver gelatin printing remains a popular choice for photographers who like to establish deeper relationship with their work. Learn more about RadLab darkroom facilities and services, if you prefer a tactile, experimental, “hands-on” style of working and contact us to book your workshop or to rent our lab.
What is Silver Gelatine Printing?
Darkroom printing /also knows an silver gelatin printing/offers photographers a unique and rewarding way to engage with their work and create prints that are truly one-of-a-kind. It is very tactile and hands-on process that allows you to engage with your work and have a great deal of creative control over the final print. This method careful attention to detail and a deep understanding of the chemical processes involved, but it is also very entertaining way to get your final images after the film has been exposed and developed. Moreover you can adjust the contrast, exposure, and tone of the print by making changes to the chemicals used in the development process, manipulate the light exposure during printing or just experiment with all the variables to achieve unique results.
Silver gelatin printing is a photographic printing process that has been widely used since the late 19th century. It is a type of black and white photographic print made by exposing light-sensitive photographic paper to a negative, and then developing the paper in a chemical process using silver-based compounds.
The process is usually maintained in a darkroom: specialized workspace, typically a light-sealed room that is completely dark or has very low levels of light, called safelight – most likely red or orange. The chemistry of paper developing the process itself is verry similar to the process of film developing.
There is two basic ways to make silver gelatin prints: contact printing and enlarging.
Contact printing is a printing process that involves placing the film negative directly onto photographic paper and exposing them together to a light source. This process produces a print that is the same size as the negative. This makes it great technique for photographers who use large format film and cameras and produce large sized negatives. Another advantage of this method is that allows you to make quick and easy single print of the whole film, review it and choose afterwards which pictures to focus on.
Enlarging is a photographic printing process that involves projecting a negative image onto photographic paper using an enlarger. The enlarger is part of the darkroom equipment and allows the photographer to adjust the size, focus, and composition of the image – it has a light source, holder for the negatives and sometime color filters for contrast adjustments. The process involves loading the negative into the enlarger, positioning the photographic paper under the enlarger, adjusting the focus and composition, exposing the paper to light and developing the print. Darkroom enlargement offers photographers a lot of creative control over the final print, allowing them to adjust the exposure, contrast, and tonal range of the image.
Both types of printing has verry similar paper developing process:
1. Choose your negative: Select a negative of the image you want to print.
2. Set up your darkroom: As with enlargement prints, you need to work in complete darkness. Set up your darkroom with a safe light that emits red or orange light.
3. Choose your paper: Select the photographic paper you want to use for your contact print.
4. Cut a test strip: Cut a strip of photographic paper and place it on a flat surface.

5. Place the negative on top of the paper: Take your negative and place it face down on top of the photographic paper.
6. Expose the paper: Place the paper and negative under a light source and expose them for a set amount of time. This time will depend on the type of paper you’re using and the intensity of the light source.
7. Develop the print: Once the paper has been exposed, place it in a tray of developer solution. The developer will bring out the image on the paper.
8. Stop the development: After the image has developed for the correct amount of time, place the paper in a tray of stop bath to stop the development process.
9. Fix the image: Place the paper in a tray of fixer solution. The fixer will make the image permanent on the paper.
10. Wash and dry the print: Rinse the print in water to remove any remaining chemicals, then hang it up to dry.
Silver gelatin prints are valued for their tonal range, sharpness, and long-lasting archival properties. They have been used to create a wide variety of photographic prints, including fine art prints, photojournalism, and scientific photography. While the digital revolution has largely replaced traditional photographic printing methods, silver gelatin printing remains a popular choice for photographers who You can learn more about RadLab darkroom facilities and services, if you prefer a tactile, experimental, “hands-on” style of working.
Leave A Comment