
How to manually override your automatic camera’s ISO?
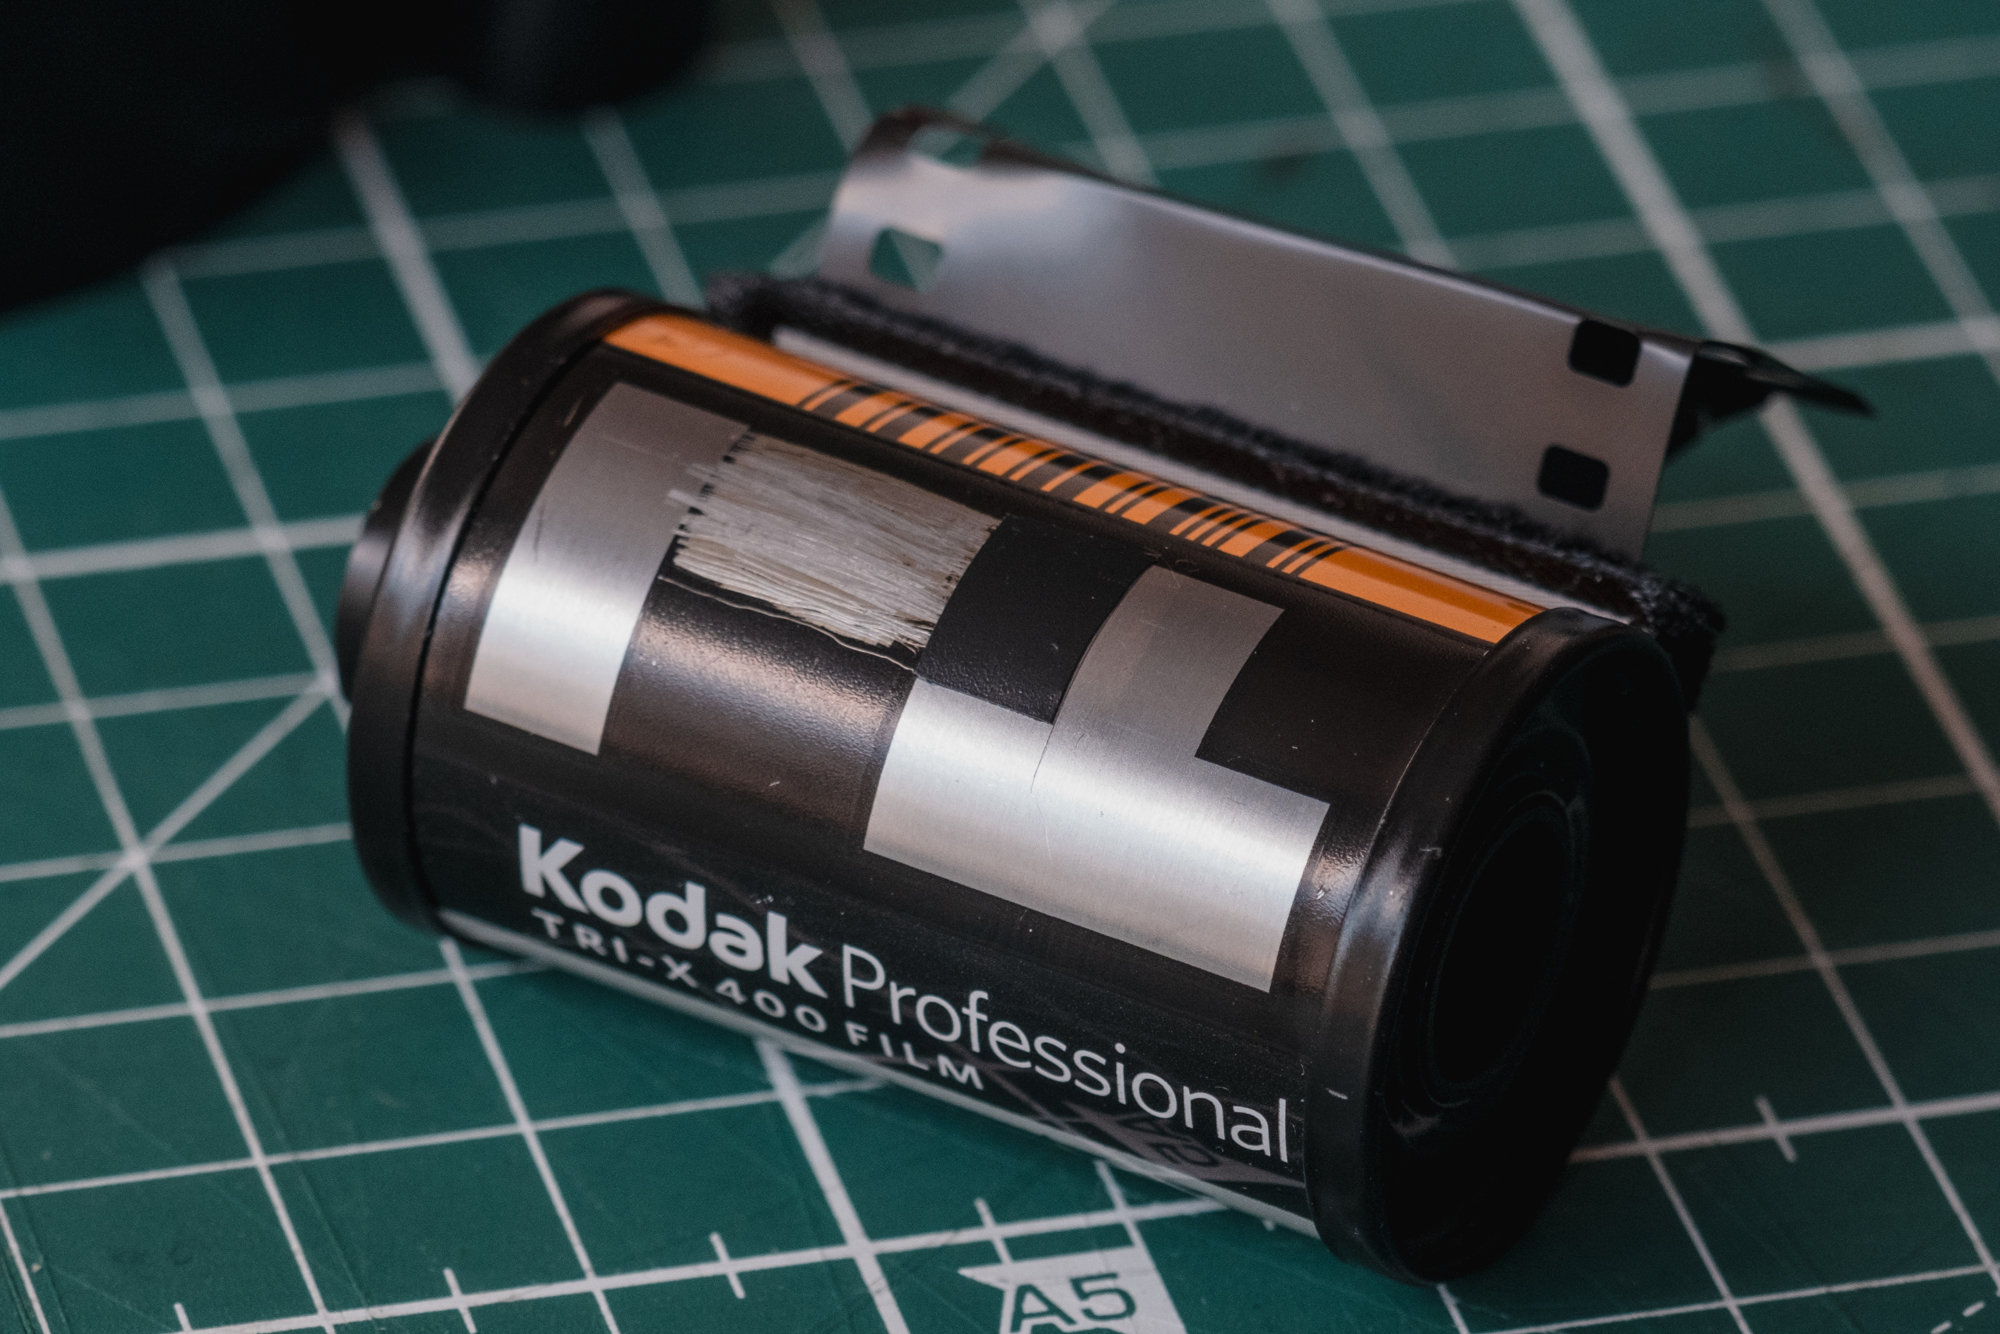
Most point-and-shoot cameras are “black box” systems. They take away your control over shutter and aperture, but they also hide the most important variable: the ISO. So, how does your automatic camera know what type of film is loaded? That happens thanks to a DX code embedded on the film canister—this is the bridge of communication that “describes” the film to your camera: its ISO, frame count and emulsion latitude.
Hacking the DX code is your backdoor into the system. It is the only way to manually override the exposure algorithm and force an automatic camera to obey your creative intent. And yet, the system is fragile. If you’re shooting a non-coded film like Berlin 400, your camera doesn’t know what to do. It falls back to a factory default (often ISO 100) meaning you’re overexposing your film by 2 full stops before you even frame the shot.

Your camera isn’t a seer. It’s just reading a binary interface through a built-in pin system.
The Technical Part
While the DX standard officially consists of a complex 12-contact grid, the reality of most consumer cameras is much simpler. They only care about the ISO pins (the first row of contacts).
By manipulating the conductive and non-conductive areas on the film canister, we can “lie” to the camera’s sensors. We aren’t just tricking the electronics; we are optimizing the exposure for our specific chemical regime in the lab.
- Conductive (silver / bare metal): Signal ON
- Insulated (black paint / tape): Signal OFF
The Split Reality: Decoding the Grid
When you look at the DX grid on a film canister, you are looking at two distinct sets of data. It is a Split Reality: the camera’s pins are reading two different languages at the same time.
1. The Primary Reality: ISO (The Top Row)
The top row of the grid (Pins 1 through 6) is the only thing that matters for 90% of point-and-shoot cameras. This is where the ISO (Speed) is encoded.
-
Pin 1: The Ground. Always conductive (silver).
-
Pins 2–6: These form a binary-style code that tells the camera the film’s sensitivity.
2. The Secondary Reality: Length & Latitude (The Bottom Row)
The bottom row (Pins 7 through 12) is where the “Wikipedia experts” get lost in the weeds.
-
Pins 7–10: Encode the number of exposures (24, 36, etc.).
-
Pins 11–12: Encode the exposure latitude (the film’s tolerance for error).
-
In action: Most automatic cameras don’t even have the physical pins to read this row. They ignore it. This is why we focus our “rebellion” on the top row; it is the lever that actually moves the needle on your exposure.

The Procedure: An Act of Rebellion
You don’t need specialized equipment to take back control. You need a blade and some tape and a basic understanding of the conductive grid.
-
The Scratch: By removing the paint from a non-conductive area, you create a contact.
-
The Mask: By covering a conductive area with electrical isolation tape, you break a contact.
This is a global adjustment. Once the pins make contact, you’ve rewritten the laws for the entire film roll.

Through these simple physical alterations, we’ve successfully pushed Ilford HP5+ and specialty stocks to their Effective ISO, proving that the “box speed” is merely a suggestion, not a law.

The Case of the “Naked” Canister
Not every film speaks the camera’s language. Films like Lomography Berlin 400, along with many cinematic re-spools and boutique stocks, ship in tin or plastic canisters with no DX coding at all.
When you drop a “naked” canister into an automated camera, the machine defaults to its lowest common denominator—usually ISO 100. For a 400 ISO film, this isn’t just “generous exposure”, it is a forced two-stop overexposure that most likely blows out your highlights.

To shoot Berlin 400 at its intended speed, we have to manually “program” the plastic canister with kitchen foil (as a base conductive material) and electrical tape. We don’t wait for a manufacturer to give us a code, we create our own.

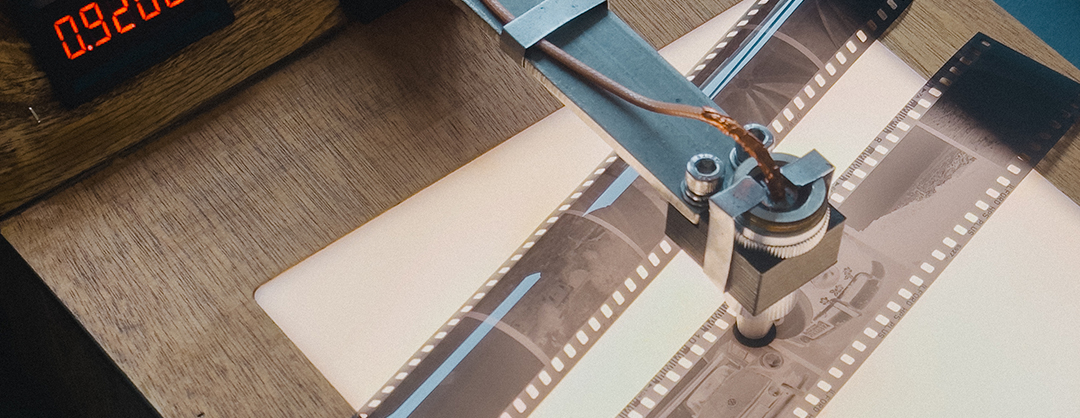
Kodak T-Max 100@400_XT-3 (1+2 ) / Shot by Ivicha
From Default to Dedicated
By modifying the canister we bridge the gap between the film’s origins and the camera’s rigid electronics. We aren’t just making the film “work”, we are ensuring that the silver halides receive the exact amount of light required for our specific development regime.
In the RadLab, we don’t let a lack of a simple diagram to dictate the quality of our images. We write our own rules.

Leave A Comment