
Last week I received an interesting inquiry in which the author asked how to use the fixer during the film processing in order to obtain a “completely transparent emulsion” after fixing. To clarify the question, he sent me a photograph of a developed ADOX HR-50 film. During our conversation it became clear to me that the question was actually related to achieving lower density in the inter-frame areas of the negative. This prompted me to reflect that the topic deserves a more structured discussion.
Base Densities of Photographic Film
Photographic film consists of several physical layers, each with a specific role in the formation of the image. With regard to the question at hand, the density in the inter-frame areas is primarily a function of the film base and developing process, rather than of fixing, provided that the film has been processed properly.
The densities in the inter-frame area can tell us how effectively a photographic film has been fixed. In a properly functioning camera, no light reaches these areas because they are not exposed. If such density is observed, the cause is usually mechanical — worn light seals, a crack in the body, or another form of light leak. Consequently, during development no metallic silver is formed in this region. After proper fixing the material reaches its maximum transparency — or, in densitometric terms, the minimum density of the film.
Minimum density contains information about two characteristics:
- Base density: every film uses a physical support onto which the light-sensitive emulsion is coated. Historically this was cellulose; today polyester is most commonly used. Despite the effort toward transparency, this material has its own optical density, which depends on the specific manufacturer and film model.
- Fog: photographic films exhibit physical and chemical fog — a baseline density characteristic of the emulsion itself. Fog depends on the age of the film, storage conditions, development and working methodology. Different developers may produce different base fog levels with the same film. Fog can also increase through ageing, improper storage, or exposure to X-rays for example in airport scanners.
The sum of the optical density of the base and the base fog forms the minimum density of the material. Often a higher minimum density in the negative may lead to reduced final contrast or a loss of shadow detail, but this is not necessarily the case. The good news is that minimum film density is a measurable quantity and, as long as it is uniform, it should generally not be regarded as a defect of the image, even when it is denser.

A densitometer is a device used to measure and analyze optical densities across different areas of a photographic negative.
Ilford HP5+ (120) @ Studional (1+30) base+fog optical density = 0.18
The Relationship Between Minimum Density and the Fixing
The clearest and most concise formulation of the fixing process that I have encountered is that of Steve Anchell:
“The purpose of fixer is to dissolve and remove the unexposed silver halides from the emulsion, leaving only the metallic silver image.”
This is a stable physicochemical mechanism. If fixing is incomplete and residual silver halides remain in the emulsion, they may undergo reduction over time. Visually this may appear as darkening, yellowing, formation of silver sulfide, loss of contrast, and archival instability. It is important to emphasize: fixer does not “bleach” the film base nor reduce its inherent density. It removes only the unexposed halides. If the film is properly fixed, the minimum density remains a function of the material itself.
Transparency as an Expectation
In response to the original question, the first requirement is simply to fix our films properly. Yet even with correct fixing we reach a certain limit of the chemical reaction performed by the thiosulfates in the fixing solution. From that point onward the minimum density remains a characteristic of the specific film material.
Therefore a “more transparent” base is not the result of longer or more aggressive fixing, but rather of the characteristics of the film itself and of process control. What we can aim for is only the minimum density inherently associated with the given material.

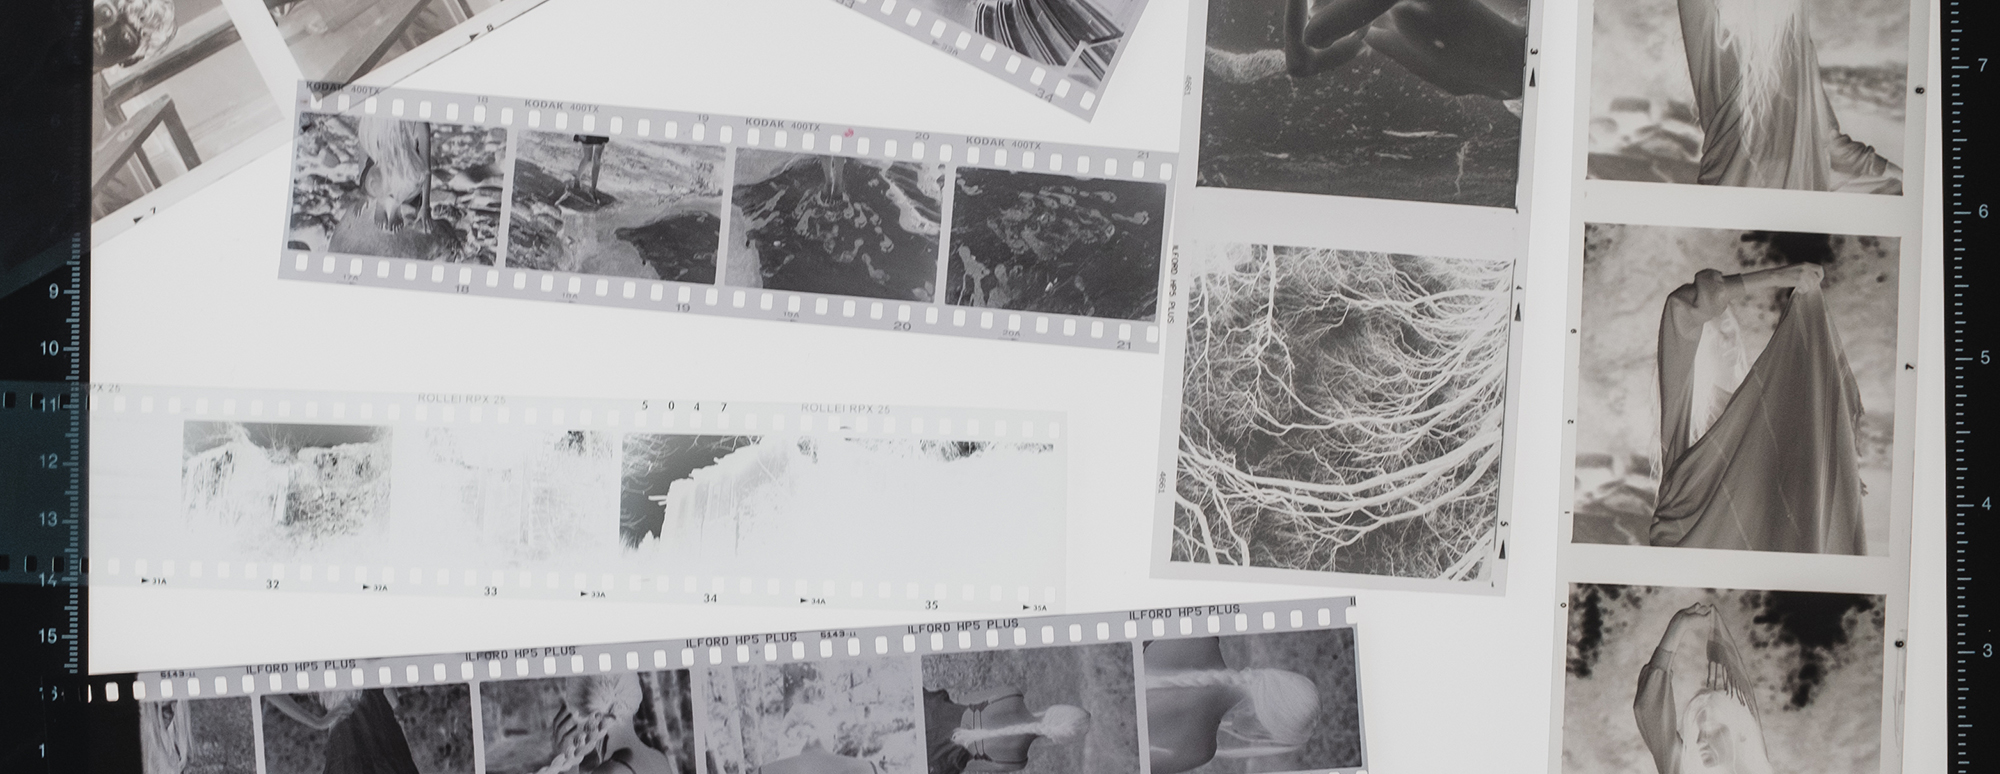
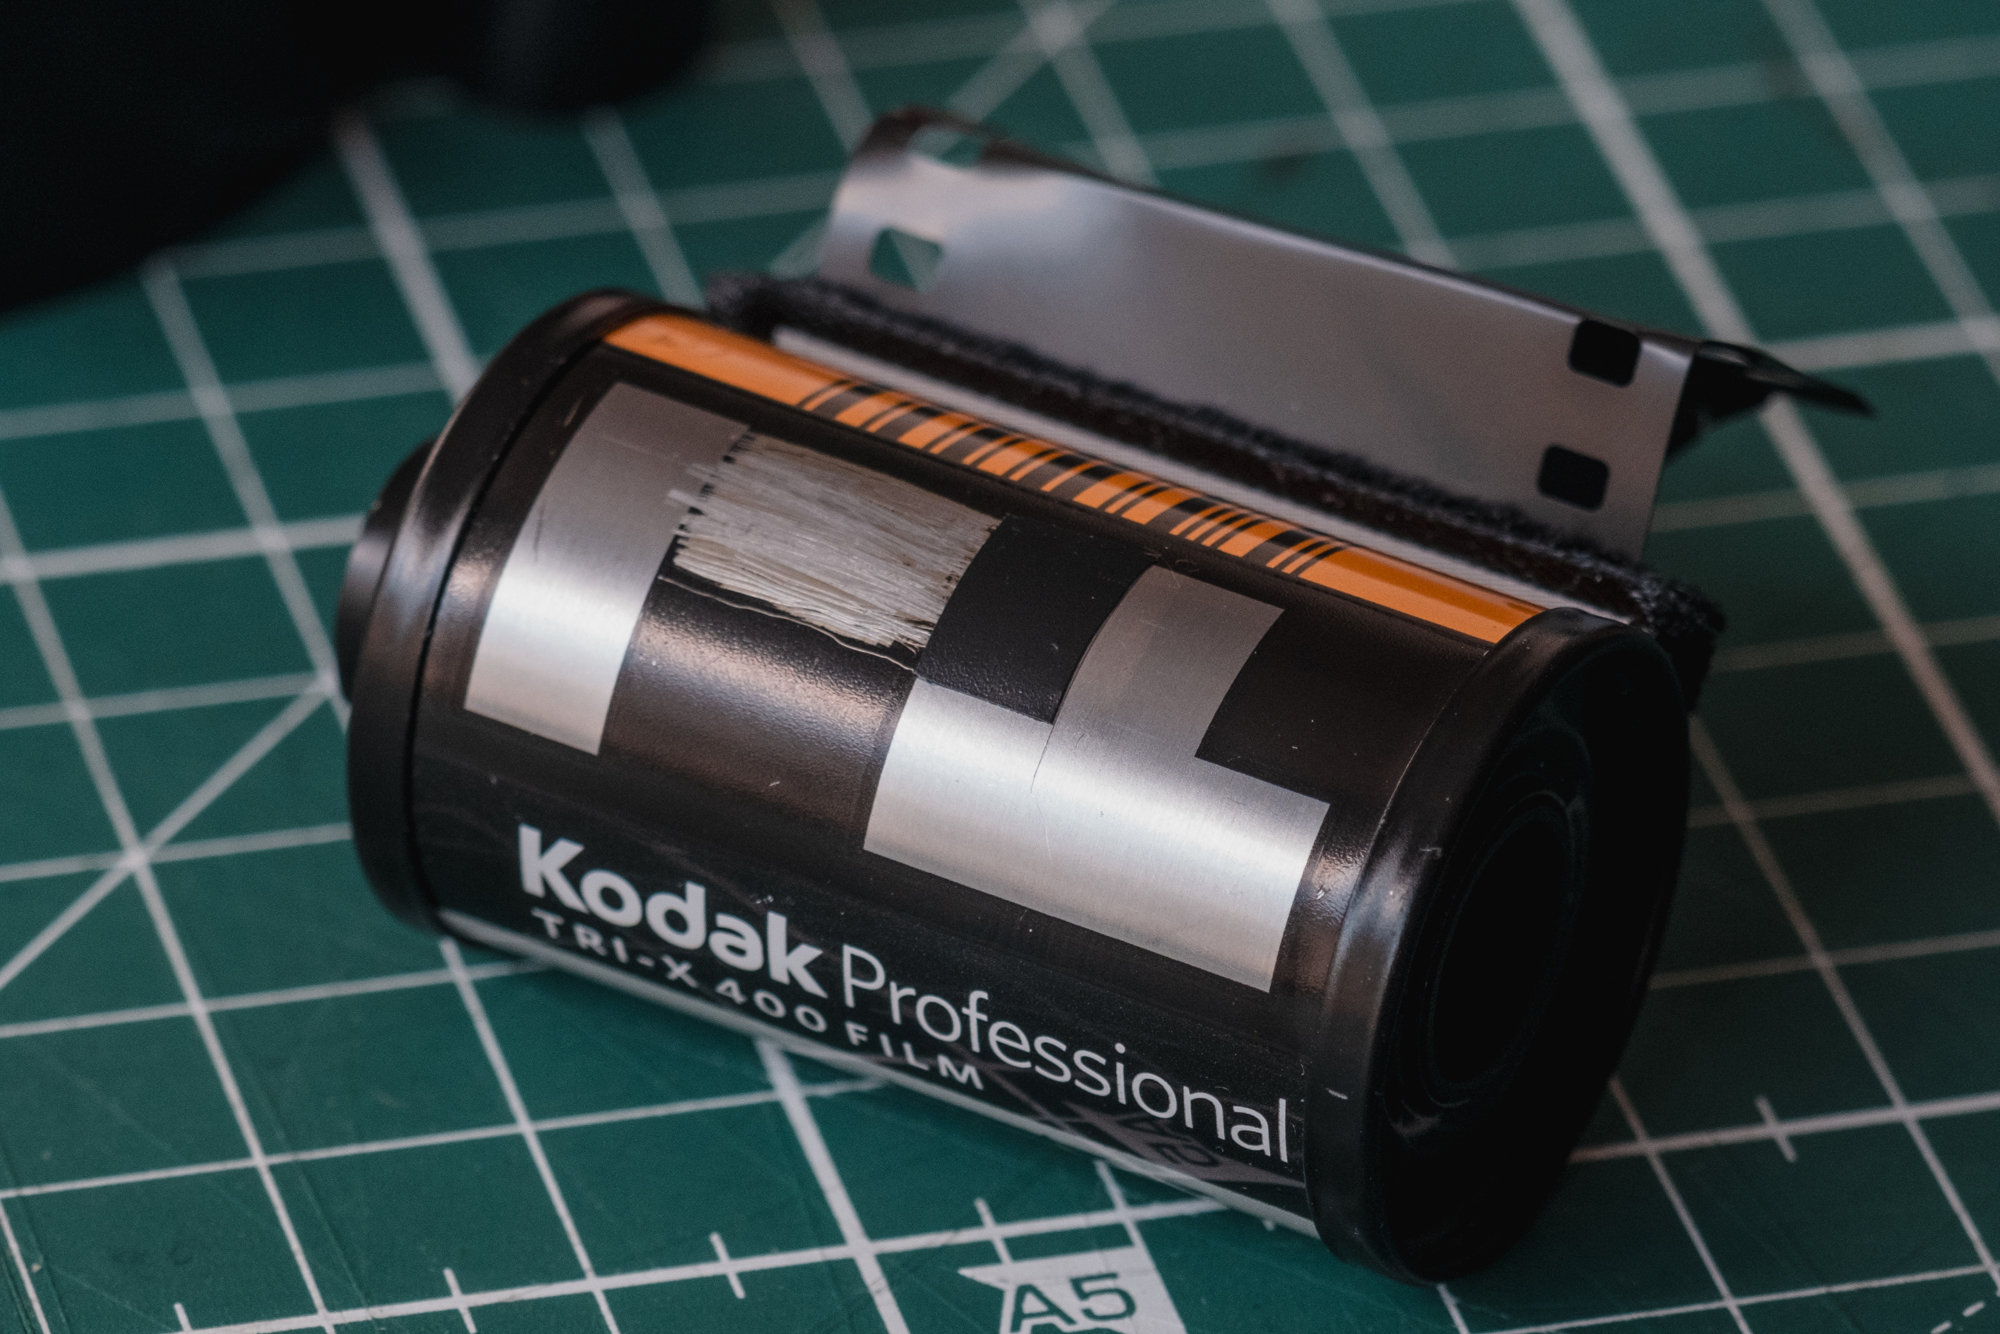
In my own densitometric measurements Rollei RPX 25 shows a lower minimum density than Kodak Tri-X 400 under comparable development and fixing conditions. The difference is measurable and repeatable and it is also visible to the naked eye.

Uneven staining (darkening) over time could be caused by incomplete fixing.
From here several practical questions naturally follow if our goal is to fix our films efficiently: how do we determine the fixing time, how do we calculate fixer exhaustion of the fixer and how do we determine the capacity of the working fixing solution?
Fixing Time
Regardless of whether we are working with a traditional hypo fixer or a rapid alkaline fixer — either self-mixed or commercially prepared — the fixing process requires a minimum time to convert the remaining undevelped silver halides in the emulsion into silver-thiosulfate complexes. These complexes are water-soluble and can be removed during the final washing of the film. The active component in fixing solutions is usually sodium thiosulfate (classic “hypo”) or ammonium thiosulfate (in rapid fixers).
The mechanism proceeds as follows:
- thiosulfate ions attack the silver halides (AgBr, AgCl, etc.)
- soluble silver–thiosulfate complexes are formed
- these complexes diffuse out of the gelatin layer
- only the metallic silver image remains in the emulsion
This is a complexation reaction, not a reduction. For the final diffusion process to occur, a minimum time is required. This defines the minimum fixing time for the film. It can be easily measured and calculated regardless of the type of fixer used.
Determining the Initial Clearing Time (ICT)
- Prepare the working fixer solution at the recommended temperature according to the manufacturer’s instructions.
- Immerse a piece of undeveloped film — the leader of an unprocessed black-and-white film works well.
- Measure the time from immersion until the emulsion becomes maximally transparent and stops changing.
- This time is known as the initial clearing time (ICT).
- The minimum effective fixing time is ICT × 2.
For example, in my own practice I use a neutralized rapid fixer in which I measure ICT = 90 seconds at 20 °C. Therefore the minimum fixing time with this solution is: 90 × 2 = 180 seconds (3 minutes) at 20 °C. I add an additional 25% time and fix for 4 minutes, simply to ensure that no residual silver halides remain in the emulsion.

Exhaustion of the Working Solution
With every film that is fixed, the working solution gradually becomes exhausted. For this reason, after a certain number of processed films in a given volume of solution (for example 1 liter), we need to monitor its condition. This is done using the same method — measuring the clearing time (CT). If measured clearing time increases, the minimum fixing time must be recalculated.
For example, if five films have been fixed in the working solution and before fixing the sixth we measure that CT has increased from 90 seconds to 120 seconds, the minimum fixing time becomes: 120 × 2 = 240 seconds (4 minutes).
Capacity of the Working Solution
Since the working solution gradually becomes exhausted, it follows logically that after a certain number of rolls it will reach a point where the remaining thiosulfate is no longer able to convert the silver halides effectively. This creates a risk of residual silver salts and long-term image instability.
We can determine when the solution reaches its effective capacity by measuring again the clearing time. At the moment when the clearing time doubles relative to the initially measured ICT, we can assume that the fixer is exhausted. This approach is widely referenced in photographic literature and is the safety threshold I follow in my own practice.
Thus if the original ICT was 90 seconds, and after fixing 10 rolls of films in the same working solution the clearing time reaches 180 seconds, I consider the fixer to have reached its practical limit, I descard the solution and cook a frash one.
A few common practical cases are worth noting:
- If the working solution has a larger volume — for example 2 or 5 liters — it is normal to expect that it will exhaust more slowly and allow a greater number of films to be fixed.
- As mentioned earlier, although scientific literature usually defines the minimum fixing time as twice the clearing time, I add about 25% additional time to ensure stable and durable results over time.
- Under otherwise equal conditions, different emulsions may require different minimum effective fixing times. Modern tabular-grain emulsions such as Delta or T-grain films, for example, often require longer times, mainly because of the higher silver iodide (AgI) content in the emulsion.
- In practice it is virtually impossible to “overfix” a negative. Therefore we always aim to reach at least the minimum fixing time to ensure that all silver halides have been converted. A longer stay in the fixing bath is not crucial, but excessively prolonged exposure to thiosulfates may have unfavorable long-term effects.

Tracking the amount of developed films is always helpful. In my case, one liter of working fixer is used for 15 rolls of film. The first five rolls are fixed for 5 minutes, the next five for 7 minutes, and the final five for 9 minutes, after which the solution is discarded.
Instead of a Conclusion
I will conclude only with the reminder that fixing is not the end of the processing of light-sensitive photographic materials. After it come the washing procedures — a subject to which we will return in more detail in the future.
And you — do you have questions or observations from your own darkroom practice that you would like us to explore further? Share them in the comments below.

Leave A Comment